


4 Steps for a Smooth Mold Transfer
Leave a Comment4 Steps for a Smooth Mold Transfer
A guide to a seamless plastic injection mold transfer.
Many factors drive the decision to move forward with a mold transfer from one injection molder to another. It might be increasing costs, inconsistent quality, missed deadlines, or even a re-shoring effort for molds being run internationally. Perhaps there’s concern about the financial stability of the current molder and the necessity to avoid production interruptions.
“Mold transfers — particularly large ones — require upfront planning, communications, and investments to achieve the goals and expectations of the project,” (Berg, 2011). Regardless of the reason for transferring, here are four steps to be sure the process goes as smoothly as possible.
1. Gather information.
Once you’ve decided to transfer your mold(s), you should first find and review your contract with your current molder and have it ready to reference.
Ideally, you’ll have the 3D CAD files and 2D prints for the part design and mold design along with material specifications, injection molding processing parameters, and applicable quality control requirements.
This is a good time to visit the current molder to observe your mold running. Often, experienced operators will have specific shortcuts, tips, or tweaks to make the mold run efficiently. This information is invaluable in the transfer process because it can help the new molder get up and running faster.
2. Evaluate the new molder.
Investing time in due diligence is important because you’ll need to ensure the new molder has the capabilities and machine time to run your mold as often as needed. You should also look for molders that have plenty of experience dealing with mold transfers.
When meeting with the new molder, be prepared to provide the information collected during the “gather information” phase. In addition, let them know if you have any specific processing requirements, shipping or packaging requests, projected production volumes, post-production assembly needs or any other keys to success that are important to you, as the customer.
3. Build inventory.
After you’ve selected the new molder you’ll want to develop a transfer timeline. Based on this schedule you can determine how much inventory you will need to get you through the transfer, mold setup, and mold qualification at the new molder until normal production resumes. Many factors influence this timeline and you’ll want to have some reserve for any potential unexpected obstacles.
At this time, you should also collect a few parts to be used as “golden samples” for the new molder to reference when qualifying the molds at the new location.
4. Execute the Transfer.
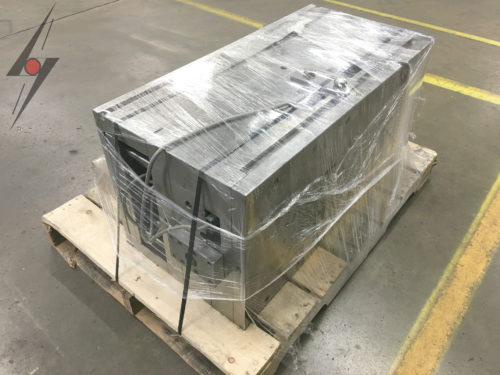
After everything has been settled with the current molder and selection of the new molder is complete, it’s time to make the transfer.
Open communication with all parties involved will ensure the process moves along quickly. Make certain that both molders know the timeline, deadlines, and the roles they need to carry out to complete the milestones as needed.
The basic mold qualification process at the new molder includes:
- Tooling receipt, inspection and assessment to evaluate any maintenance or repairs needed on molds and associated gauges, fixtures, or post-processing equipment.
- Part Qualification to produce sample parts for comparison with provided “golden samples.”
- Production upon customer approval of the sample parts. At this point, production should be back to normal.
Selmax Mold Transfer Capabilities
Selmax has years of experience helping customers transfer their production molds from other molders (or in-house operations). We have experience with both domestic relocation and international “re-shoring” transfers. Production molds and tooling are often the single largest investment in a plastic injection molding project. Selmax can help you maximize your return on that investment.
Each tooling transfer project is assigned a Selmax Project Manager (PM) as the customer’s primary point of contact. The PM works with the customer through each phase of the mold transfer process. The PM also coordinates all the necessary activities with Selmax Logistics, Tooling Technicians/Machinist, Process Technicians, and Quality Assurance to ensure a smooth tooling transfer and an uninterrupted supply chain.
References:
Berg, John (2011). Eights Steps Toward a Seamless Mold Transfer. Plastics Technology. www.ptonline.com/articles/eight-steps-toward-a-seamless-mold-transfer