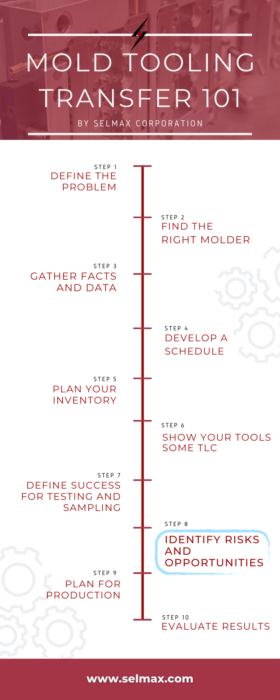
Mold Tooling Transfer 101: Identifying Risks & Opportunities
Leave a CommentMold Tooling Transfer 101: Identifying Risks and Opportunities
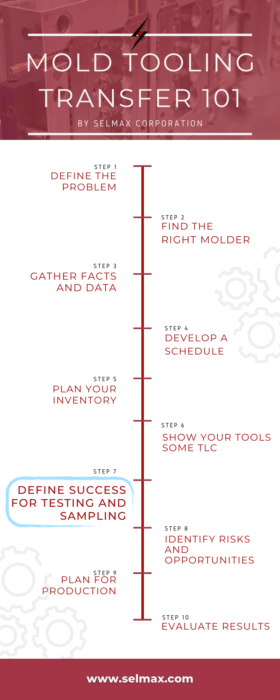
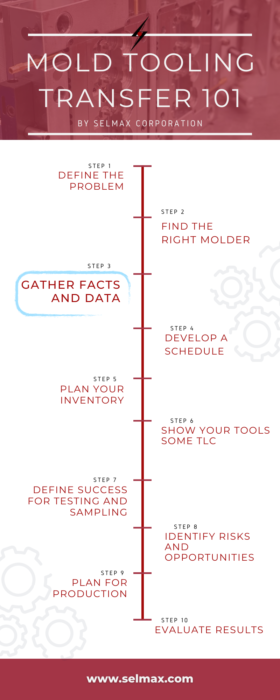
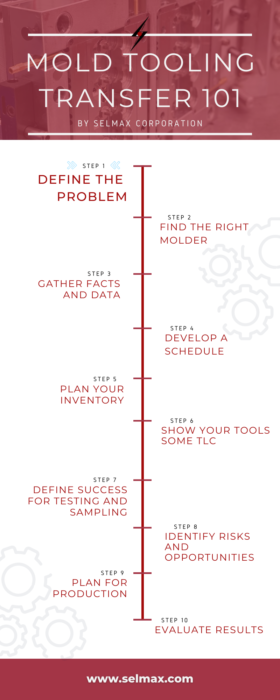
From the information-gathering stage through the process of setting up at a new molder, your current molds, processes, and products will be dissected and closely examined. Following these steps in of the mold tooling transfer process can often reveal potential risks in a plastic injection molding project that may have not been previous identified. However, the process can also help identify opportunities to make improvements, cut costs, and even extend the life of your mold(s).
Risk Mitigation
Every business makes decisions based on the amount of risk they’re willing to take. In a perfect world, there would be no risk to consider, but that’s just not the reality.
There are a few different types of risks that can be highlighted throughout the mold transfer process:
- Tooling. Molds often represent the single largest investment in an injection molding project. Mold condition and operability directly affect part quality, reject rate, and operational efficiency. Regularly scheduled maintenance and timely repairs will help keep them running smoothly over the long haul. Even things a simple as mold storage preparation and environment can impact the life of the mold. They new molder should provide a thorough assessment of the transferred mold and identify any potential issues that need to be addressed.
- Operations. Sometimes the mold transfer process will show weaknesses in current operations. This could be related to the part quality, processing setup, cooling times, or something else that affects the final part, cycle times, material usage, etc.
- Part quality. During the mold testing process at the new molder, you might find that your existing parts are out of tolerance. This is a great time to re-evaluate your parts and ensure they’re functioning well for their intended use. You might also discover that you’re missing drawings or documentation for your molds or parts during this process.
- Supply chain. The mold transfer process can also highlight raw materials risks that you might not have been aware of previously. Ensuring your supply chain is strong and potential materials shortages (or availability of alternate materials) are planned for is an important part of risk management in plastic injection molding.
Many companies have thousands or hundreds of thousands of dollars tied up in their plastic injection molding projects. That’s why it’s so important to have a solid risk management plan in place to be prepared for anything from natural disasters, supply chain disruptions, and equipment failures that could interrupt your production.
To keep operations running smoothly, decision-makers in the organization should have a good understanding of risks that could potentially impact operations and how to mitigate those risks to protect their assets and their brand.
The COVID-19 pandemic demonstrated just how fragile supply chains can be when “normal” operations are interrupted. Global supply chains are still trying to rebound from the effects of the pandemic and most companies have developed risk management plans for similar situations in the future.
The mold transfer process is not just a time to identify areas of weakness, but also to discover new opportunities for improvement, cost reduction, and quality enhancement.
Opportunity Capture
Continuous improvement should always be included in any business strategy. The mold transfer process is a great time to identify opportunities for improvement. You might want to implement a new maintenance plan for your mold(s), make changes to your process that cuts costs, or tweak the operations to produce a higher-quality product.
Some opportunities that could be discovered through the mold transfer process are:
- Process improvement for part quality enhancement
- Cost reduction
- Cycle time optimization
If you are moving your molds closer to your company, you could also find that shipping times are much quicker, enabling you to deliver products to your end customers faster. In addition, if your previous molder struggled with the machine time to get your molds into a press, you might find that the new molder can produce parts for you with drastically shorter lead times.
Whatever your reason for moving your molds, you should take the opportunity to identify risks and opportunities that will strengthen your business plan and mitigate issues that could cost money, time, and your brand’s reputation.
Let’s Get Started
Ready to start the mold transfer process? Let’s chat.
More in this series:
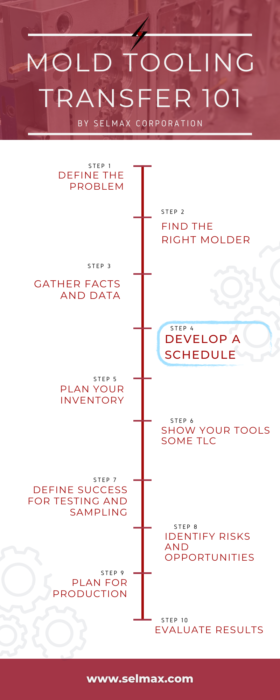
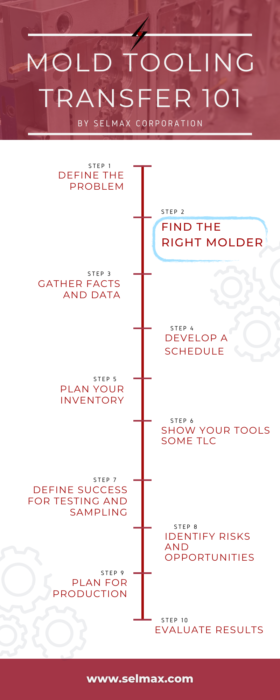
Step 2: Finding the Right Molder
Step 3: Gathering Facts and Data
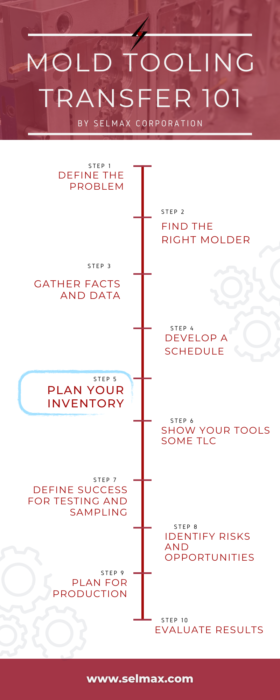
Step 5: Planning Your Inventory
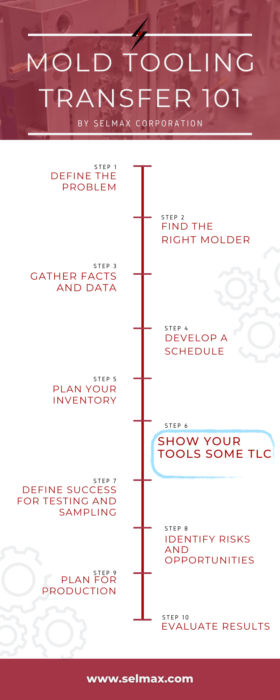
Step 6: Showing Your Tools Some TLC
Step 7: Defining Success for Testing and Sampling
Step 9: Planning for Production
Step 10: Evaluating Results