


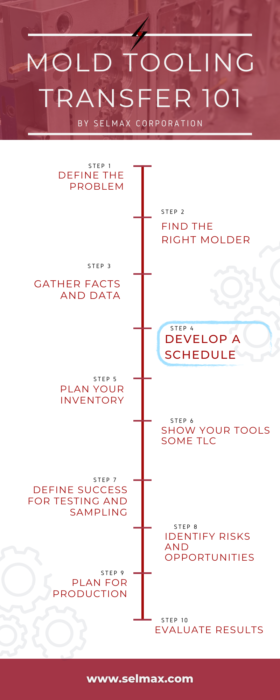
Developing a schedule is the next step in the mold transfer process. At this stage, you have already defined the problem, found the right molder, and gathered all the important facts and data.
Based on the data gathered from the current molder, you can now begin to work with your new molder to develop a sensible transfer schedule. Under perfect conditions, your transfer process will go something like this:
- You’re able to obtain up-to-date mold and part drawings to provide to the new molder.
- The mold has been well-maintained and is running at full cavitation at the current molder.
- Mold qualification records are available and provided to the new molder.
- You have a “Golden Sample” to provide to the new molder that is in spec.
- You have ample inventory built as safety stock to sustain you during the transfer process.
- You’ll be able to talk or meet with the machine operator and/or process technician at the current molder to learn the setup and techniques they used.
- You will get all support equipment, tools, fixtures or jigs used in conjunction with running your parts. If these are not available, a list and photographs of these items should be provided to the new molder.
- The current molder will thoroughly clean the mold and coat it with rust preventive before sending.
- Raw materials will be ordered and waiting at your new molder before the mold is scheduled to arrive.
- The current molder will efficiently pack up and ship the mold to your new molder.
- The mold will arrive at the new molder where it will be opened, inspected, and cleaned.
- The new molder will install it into a press, set up the correct parameters, and begin the testing process.
- First-article parts will be collected and given to QA. Upon the new molder’s QA approval, the parts will be shipped to you for inspection and approval before production is scheduled.
When it comes to mold transfers, expect the best but plan for the worst.

When everything goes smoothly, the process is fairly routine. However, things don’t always go according to plan, so it’s important to be prepared for the wrenches that will inevitably be thrown into the schedule.
- Sometimes the tool hasn’t been properly maintained, is damaged or completely defunct upon arrival.
- Sometimes critical processing information is not passed along from the previous molder to the new molder.
- Sometimes support equipment wasn’t mentioned, so the new molder has to learn the nuances of the project by trial and error until the perfect part is achieved.
Regardless of how detailed your instructions are from the previous molder, you should always allow time for these possibilities when developing your mold tooling transfer schedule.
Be sure to gather the most important information that will be most likely to affect the transfer schedule. Things such as confirming that the mold is currently running at full cavitation, ruling out any special features the mold might have, and confirming tool validation requirements can help keep your schedule on track and eliminate the risk of surprises.
Ready to Start the Mold Transfer Process?
Selmax Corporation is a full-service plastic injection molder that specializes in mold transfers. We have been helping our customers efficiently make high-quality parts for over 50 years.
Take the first step today.
More in this series:
Step 2: Finding the Right Molder
Step 3: Gathering Facts and Data
Step 5: Planning Your Inventory
Step 6: Showing Your Tools Some TLC
Step 7: Defining Success for Testing and Sampling
Step 8: Identifying Risks and Opportunities
Step 9: Planning for Production
Step 10: Evaluating Results