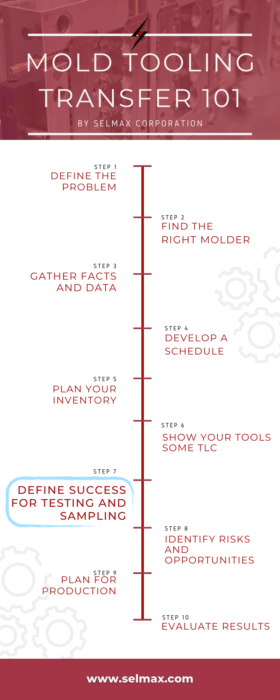
After a mold has been transferred to a new molder, has gone through cleaning and inspection, any tooling issues resolved, and is ready to start running the first samples, it is important to define success for mold testing and sampling.
Defining Objective Criteria
The easy part is to define success with things that can be measured – critical part dimensions within tolerance, part weight, numerical color results (using a spectrophotometer) within tolerance, etc. Part design artifacts (drawings, 3D Solid Models) are critical to this step.
Defining Subjective Criteria
The harder part is to define success with characteristics that are more subjective. The appearance of flow lines, sink, weld lines, flash, and other cosmetic attributes are difficult to quantify. So, to make this evaluation easier a “Golden Part” sample is often used as a reference for comparison.
What Is A Golden Part Sample and How Is It Used?
A Golden Part Sample(s) is a previously produced part from the mold, prior to transfer, that represents the minimum quality standards you will accept in the finished product. This sample is used by the manufacturer for quality control as samples from each shot will be compared to it. The golden sample ensures that the new molder can provide the same quality results consistently. Having this part will help them qualify your molds and capture the best process setup to produce parts that match the golden sample in quality, color, cosmetics, etc.
Choosing The Golden Sample For Mold Testing
The best Golden Part Sample should be from the original mold qualification testing when the mold was approved for production. If you mold has seen a lot of cycles. A “last shot” sample from the most recent production run can also be used in conjunction with the Golden Part Sample to identify potential wear, damage or end-of-life issues with the mold. Make sure the samples you provide to the new molder have been reviewed to ensure there are no unexpected flaws that would be considered unacceptable.
What If A Golden Part Sample Is Not Available?
If you don’t have a Golden Part Sample to supply to the new molder, that’s ok. It will likely just take a little more time/effort for the mold qualification phase. You will want to review the samples produced by the new molder and agree on a what will be established as the Golden Part Sample for the new molder to use in QC of future production. These samples should be clearly identified, signed, dated, and sealed so that they do not get lost in the mix during the mold testing process.
Ready to start the mold transfer process? Get in touch with us to get started today.
More in this series:
Step 2: Finding the Right Molder
Step 3: Gathering Facts and Data
Step 5: Planning Your Inventory
Step 6: Showing Your Tools Some TLC
Step 8: Identifying Risks and Opportunities
Step 9: Planning for Production
Step 10: Evaluating Results


1 Comment
Mold Tooling Transfer 101: Finding the Right Molder - Selmax Corporation
[…] Step 7: Defining Success for Testing and Sampling […]