


Mold maintenance is often brought to center stage during the plastic injection mold transfer process. By the time a company makes the decision to transfer to a new molder, they’ve probably already put some ‘miles’ on the mold.
Depending upon the degree of wear and tear, the maintenance or modifications required to get the molds up and running at full capacity may take more time than originally planned. Molds that are in fair to poor condition may require more time on the bench before they’re ready to produce the first article inspection run.
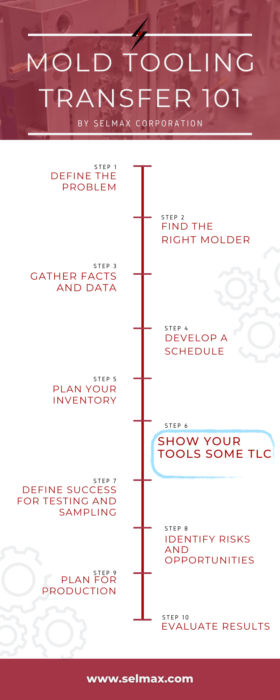
That is why it is so important to ensure that your current molder is showing your tools TLC on a regular basis. Maintaining the molds in top condition is the single best thing that can be done to ensure they get the longest use possible. Regardless of volumes, they should have regularly-scheduled down time to be evaluated, cleaned, and repaired (if needed).
Extending Life With Mold Maintenance
Keeping molds in tip-top shape will keep them running smoothly and creating consistently good parts over the life of the mold.
A quality molder typically follows this process for the molds in their care:
- Remove the mold from the press.
- Clean all mold faces with mold cleaner, a clean rag, and/or compressed air.
- Clear all water lines with compressed air.
- Remove all plastic or molding residues.
- Check for scratches, chips, cracked cavities, broken cores, core pins, ejector pins, broken leader pins and bushings and warped or burred plates.
- Grease all slides, cam pins, leader pins or other moving parts
- Apply a generous coating of rust preventative.
- Return the mold to storage.
When it comes to mold maintenance, it’s important to take the time to do each of these steps properly. The care, inspection, and cleaning are directly tied to mold’s length of life. With molds typically being the largest investment in a plastic injection molding project, it’s important to find a molder that will go to great lengths to protect your investment and help you extend the life of your mold(s).
If your molds have been kept in excellent working condition by your current molder, the transfer process should be smooth and simple.
Are You Considering Transferring Your Mold(s)?
Selmax has decades of experience managing mold transfer projects. Over the years, we have refined the process and pride ourselves in being quick on our feet when it comes to handling any obstacles that arise during the process. We can expertly guide you through each step of the process to make your mold transfer quick, efficient, and smooth.
Ready to start the mold transfer process? Let’s chat.
More in this series:
Step 2: Finding the Right Molder
Step 3: Gathering Facts and Data
Step 5: Planning Your Inventory
Step 7: Defining Success for Testing and Sampling
Step 8: Identifying Risks and Opportunities
Step 9: Planning for Production
Step 10: Evaluating Results